
What You’ll Be Able to Do After Reading This
By the end of this guide, you’ll know how to build a home inventory that works for you, not against you. You’ll understand the critical features that matter when disaster strikes, and you’ll be able to choose a tool that creates an indisputable, organized record for an insurance adjuster. Most importantly, you’ll have a system that protects your privacy while safeguarding your most valuable assets. The goal isn’t just to list your stuff—it’s to create a document so clear and complete that it leaves no room for dispute.
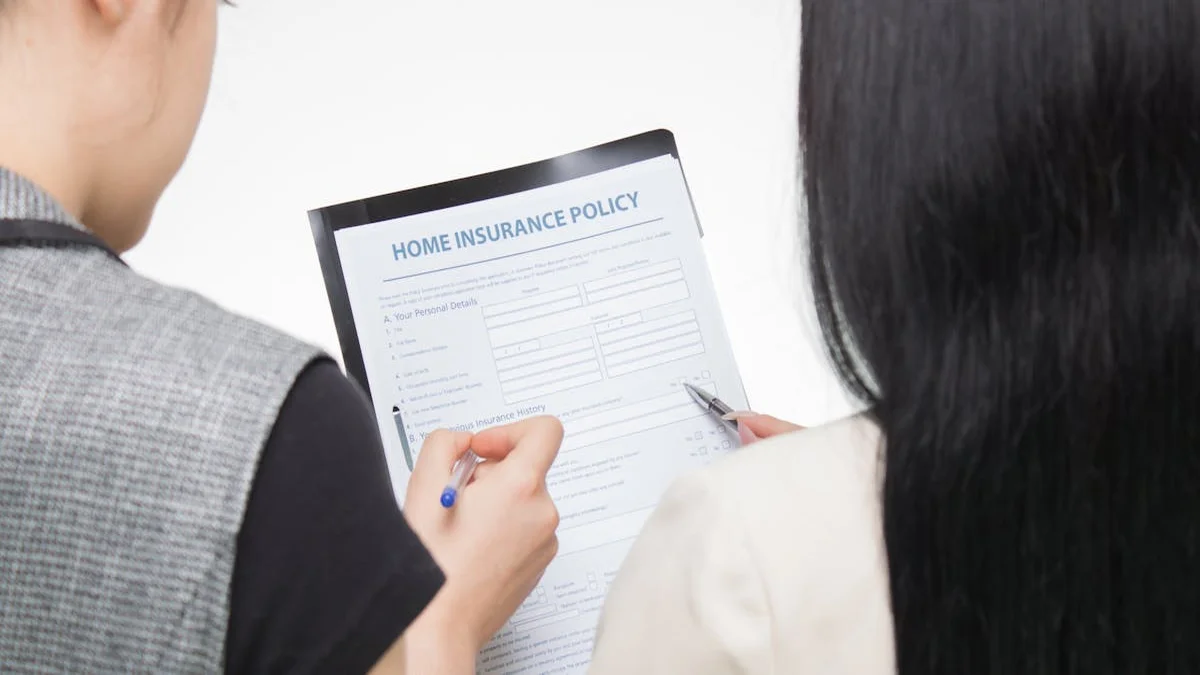
Why a Spreadsheet Fails for Insurance Claims
Most people start their home inventory in a notes app or a spreadsheet. It feels logical. You list items, maybe add a purchase price, and save the file. This approach collapses under the weight of a real insurance claim, where proof is everything and memory is worthless.
The problem isn’t the listing—it’s the evidence. An adjuster needs more than your word. They need serial numbers to verify the exact model of your stolen laptop. They need dated photos proving you owned that antique dresser before the fire. They need receipts or bank statements to establish value. A basic list provides none of this structure.
After researching dozens of home inventory apps and methods, one pattern stands out: the tools that win in a crisis are those built for export, not just entry. They force you to collect the right data from the start.
Here’s what a robust system must capture for each significant item:
- Item Description: Brand, model, color, and specific details.
- Purchase Details: Date, price, and place of purchase.
- Proof of Ownership: Photos of the item in your home, photos of serial numbers or model tags, and scanned receipts or bank statements.
- Financial Documentation: Original receipts, credit card statements, or appraisal documents.
- Categorization: Room location (e.g., “Master Bedroom - Dresser”) and category (e.g., “Electronics,” “Furniture”).
- Notes: Any special condition, provenance, or customizations.
A spreadsheet can technically hold all this, but it becomes a chaotic mess of file paths and unformatted text. The right home inventory app for insurance claims provides structured fields for each data type, making the eventual export to a PDF or report coherent and professional.
The Non-Negotiable Feature: The Insurance Report
You can have the world’s most detailed inventory, but if you can’t get it out of the app in a presentable format, it’s functionally useless. The core purpose of this exercise is to generate a single, authoritative document for your insurance company.
When evaluating any method or app, the first question to ask is: “What does the final report look like?” The answer will tell you almost everything you need to know.
A high-quality insurance report should have:
- A Professional Layout: It should look like a formal document, not a printout of a database.
- Grouped Organization: Items should be logically grouped by room or category, with clear subheadings.
- Integrated Visuals: Photos should be embedded inline with their corresponding items, at a readable size.
- A Summary Page: A front page with your basic info, the total estimated value, and the date of the report.
- Itemized Details: For each item, the report should display the description, serial number (if applicable), purchase date/price, and the current estimated replacement value.
The average household spends 18 months underinsured because they fail to properly document high-value purchases and home improvements.
The ability to generate this report offline is critical. After a major storm or fire, internet access is often the first thing to go. If your inventory is locked in a cloud service that requires a login, you’re stuck. The best systems store everything locally and can produce a complete PDF without phoning a server.

Comparing Home Inventory Methods for Claims
Let’s look at the three most common paths for building a home inventory, weighing their strengths against the harsh reality of an insurance claim.
| Feature | Dedicated App (e.g., Encircle, Sortly) | Cloud Spreadsheet (Google Sheets) | Local-First / Offline-First App |
|---|---|---|---|
| Ease of Setup | Guided, with templates and prompts. | Manual, you build the structure. | Varies; often structured but self-contained. |
| Data Entry | Optimized for mobile photos & scanning. | Cumbersome; linking photos is messy. | Mobile-friendly, but sync is manual (e.g., via your own Drive). |
| Offline Access | Usually requires cloud sync; limited offline mode. | Requires internet to access the sheet. | Full functionality without any internet connection. |
| Insurance Report | Strong point. Professional, customizable PDF exports. | Poor. Requires extensive formatting to be presentable. | Designed around generating a clean, printable PDF. |
| Data Privacy | Your detailed asset list lives on the company’s servers. | Governed by Google’s privacy policy and your account security. | Data stays on your device. No company has a copy. |
| Long-Term Viability | Risk if the startup shuts down or is acquired. | Your data is portable, but the structure is fragile. | You own the database file; the app is a tool to view it. |
| Cost | Typically a monthly or annual subscription. | Free (with Google account). | Usually a one-time purchase. |
The dedicated apps excel at the final report but introduce a significant privacy trade-off. A cloud spreadsheet is free but fails at the moment of truth—producing a good report. This gap is why we believe home inventory tools should work offline by default. Your home’s contents are the ultimate private data set; they shouldn’t be a commodity on a company’s server.
The most critical failure point for cloud-based inventory apps is the moment after a disaster, when you need your data most but have the least reliable connectivity.

A Worked Example: Documenting a Home Office
Let’s make this concrete. Imagine you need to document your home office for insurance. Here’s how a thorough, claim-ready process looks with a structured tool.
- Start with the Room: Take wide-angle photos of the entire office from each corner. This establishes the context and quality of the furnishings.
- Itemize Major Assets:
- Laptop: Photograph it on the desk, then flip it over for a clear shot of the serial number. Log the brand, model, serial number, purchase date from your email receipt, and cost. Attach the PDF of the receipt.
- Monitor: Same process. Include serial number, model, and the original box photo if you have it.
- Desk: Note the brand if it’s from a retailer like IKEA (and attach the assembly PDF). Take photos showing its condition and any unique features.
- Office Chair: High-value chairs (like Herman Miller or Steelcase) are prime theft targets. Document the model tag under the seat.
- Don’t Forget the “Soft” Assets: The software on your computer has value. List major licensed software (Adobe Creative Suite, etc.) and attach purchase confirmations.
- Generate the Room Report: Once everything is logged, use the app’s report feature to create a PDF for just the “Home Office” category. Review it. Does it tell the full story? Would an adjuster understand what was there?
This process, repeated room by room, builds an unassailable record. Most home apps share a troubling assumption: that users will casually upload this deeply sensitive financial picture to a stranger’s cloud. A better approach treats this data with the seriousness it deserves—keeping it local, encrypted, and under your direct control.
Building Your System: A Step-by-Step Plan
Tackling the entire house at once is overwhelming. You’ll quit. Instead, follow this phased approach to build momentum and a complete record.
Phase 1: The High-Value & New Items (This Weekend)
- Target: Electronics (TVs, computers, tablets, cameras), jewelry, recent large purchases (furniture, appliances), and collectibles.
- Action: Gather receipts (check email). Photograph each item and its serial number. Enter data for just these items into your chosen system. This alone puts you ahead of 90% of homeowners.
Phase 2: Room-by-Room Sprint (One room per week)
- Target: One dedicated room each weekend.
- Action: Start with the living room or master bedroom. Don’t get bogged down listing every book or t-shirt. Focus on furniture, rugs, artwork, and medium-value items. Use the photo-first method: photograph everything, then log the details later.
Phase 3: The Deep Dive & Maintenance (Ongoing)
- Target: Storage areas (garage, attic, basement), clothing, and kitchenware.
- Action: For these areas, broad categories are acceptable (“Set of 12 dinner plates - $300 replacement”). The key is setting a quarterly reminder to log new purchases as you make them and to update the estimated value of existing items.
The system is only as good as its output. Once a year, generate a full PDF report, save it with the date in the filename, and store a copy offline (e.g., on a USB drive in a safe deposit box). This annual snapshot becomes your baseline.

The True Cost of Getting It Wrong
The financial risk of a poor inventory is staggering, but it’s not just about money. The emotional toll of fighting a claim while dealing with the aftermath of a fire or flood is immense. You’re forced to reconstruct your life from memory while an adjuster works from a policy document.
We’ve seen the scenarios play out:
- The homeowner who couldn’t prove the model of their stolen high-end road bike, resulting in a settlement for a big-box store equivalent.
- The family who lost receipts for custom living room built-ins and received a payout for standard shelving.
- The simple frustration of having to manually compile hundreds of photos and notes into something legible for an adjuster, adding weeks of stress to recovery.
Your home inventory isn’t a chore for someday. It’s a financial asset and a shield against the worst day. The peace of mind that comes from knowing you have an organized, defensible record is worth far more than the few hours it takes to build it.
The goal is to make the process of filing a claim as administrative as possible, removing the emotional and financial guesswork from your lowest moment.
Ready to build your indisputable record? Your next step is to choose a method and document your first five high-value items. Start tonight. The only wrong way to do this is to not start at all.